Showing posts with label North Indian. Show all posts

Monday, August 29, 2011

Dum Paneer & Rumali Roti

Dear Foodies,

Paneer is a huge favorite of mine and in an odd way signifies a special occassion or a reason to celebrate in my mind. Whenever we eat out a paneer dish is a must on the order and being vegetarian almost an obvious choice. With its nuetral flavor and creamy texture there is hardly anyone who can say they hate it, just not possible. Made entirely from milk with no confusions about rennet or animal enjymes used in the process, its the most vegetarian friendly cheese available. Its the best use of milk thats close to its expiry date and sitting smugly in your refrigerator... but ofcourse that never happens in my place. (heh!)


Most regular north Indian restaurants here have a banal list of paneer dishes on their menu. I categorize them as Green/Orange/Red, and they progress just like the traffic signals, green you may take a chance, orange - give it a second thought, red - stay away! They taste of nothing familiar and are doused with ridiculous amounts of cream/grease and spices. The paneer also is often a chewy, rubbery mass and the whole purpose of eating out to enjoy a meal is lost right there. With such poor examples its hard explaining to the locals here that Indian food is nothing close to what these greasy/bland dishes represent. I was watching Gordan Ramsay's Great Escape on Netflix this past weekend, he sets out on a tour of India to learn about its curries and see what was done wrongly in UK kitchens. Though he does try some pretty dramatic variations of curries the show does focus on the true charm of India's cuisine. Each one has a rich culture and history associated with it based on where it comes from. Each curry has a pedigree of sorts attached to it and you can track down the various influences on the recipe. Its a shame that such rich heritage is then thrown out the window by these restaurants.


With my parents here as an excuse I got a telugu channel package installed at home and along with my mom we cover all the cooking shows on TV. Lots of new ideas with a good dose of weird combinations have filled up our recipes books, and by 'our' I mean my mom painstakingly writing them down and then re-typing them on the laptop for a soft copy! :D One of shows (Abhiruchi/Etv) now has a Iron Chef styled secret ingredient cook-off as one of its segments. The inspiration for this recipe came from one such episode that had paneer as the ingredient of choice. I have since modified the recipe a bit to suit our tastes but the basic idea came from the show. One ingredient that I think was missing in the original is Kasuri methi. It may sound insignificant but when used will surely trigger the 'aha! so this is what they use' moment when it comes to replicating restaurant favorites at home.

Kasuri Methi is regular methi leaves in their dried form. From wiki I learned that it gets its name from Kasur a city in the Punjab province of Pakistan, that grows methi in abundance. A small spoonful, crushed between your palms and sprinkled over the curry close to the very end of the cooking process will add an additional   layer of flavor to the dish. The leaves have a strong bitter/sour flavor and fragrance to them and when added to a gravy they compliment the strong spices really well.

Dum Paneer
Servings: 4
Prep Time: 30mins
Cooking Time: 30-40mins
Ingredients:
  • 1 - Onion,large ~ 3 cups, sliced
  • 3 - Tomatoes, medium sized
  • 2 - Green chillies
  • 12-15 - Cashews, whole
  • 2-3 Tbsp - Oil
  • 1/4 tsp - Turmeric
  • 1 tsp - Ginger-garlic paste(~ 1 big garlic clove & 1" round of ginger)
  • Whole Spices - 1 bay leaf, 2-3 1" shards of cinnamon stick, 2 Green Cardamom pods, 4-5 Cloves
  • Spice Powders - 1/2 tsp each of - Garam masala powder, Dhania powder, Cumin powder, Red Chilli powder (optional)
  • 2 Tbsp - Curd/Yogurt
  • 1-1.5 cups - Paneer cubes
  • 1 tsp - Kasuri Methi
  • few leaves of Mint/Pudina (optional, I skipped it) and Coriander
  • fresh/heavy cream for garnish (optional)
  • Salt to taste
Method:
  1. Make a shallow plus slit to pierce through the tomato skins and drop them in boiling water for about a minute to loosen the skin. When cool enough to handle, peel off the skin and grind them to a paste along with green chilies. Use some of the hot water to give the cashews a quick soak for a few minutes and grind to a fine paste.
  2. Heat a tbsp of oil in a pan and add the sliced onions. Cook them on medium heat until browned evenly. This takes about 8-10mins, a few charred bits is totally fine, you don't have to slow cook them as you would for caramelized onions. When cooled, blend it to a fine paste too.
  3. In a deep saucepan, heat 2 Tbsp of oil/butter and add in the whole spices and turmeric. Once they become fragrant carefully add ginger-garlic paste and cook for 15-20secs. Add brown onion paste and tomato-chilli paste next and cook on medium heat for 5-6 mins until the moisture is cooked out of it.
  4. Reduce the heat a bit and stir in the yogurt. Bring the heat back up to medium and continue to cook for a few more minutes until the mixture leaves the sides of the pan as one mass. This is where you would also see the oil separate if you used more but the 2 Tbsp isn't quite enough to do that for the amount of gravy.
  5. Add in the spice powders, salt, cashew paste and about ~11/2 cups of water to achieve  desired consistency. Make it a little looser than you would want the final gravy as it will continue to thicken a bit.
  6. Taste test for seasonings now, once the paneer is added you don't want to stir it much. Toss in the paneer cubes, kasuri methi, pudina(if using) and coriander leaves and cover with a heavy lid to ensure that moisture does not escape out of the pan. (This step is crucial step in the recipe, the Notes section has more details.) Heat on the lowest setting on your cooking range for about 15mins.
  7. Transfer to a serving bowl, garnish with fresh cream/coriander leaves and serve hot with roti or rice.
Notes: For the 'dum' part of the cooking process, I used a cast iron lid and it did a pretty good job of trapping steam. Another option is to cover the whole pot with aluminum foil and then press it down with the regular lid. If not try the traditional method by making chapathi dough, roll it out like a thick rope and seal the edges of the pan with the lid covered. - Make extras of the browned onion paste and freeze it for a quick gravy another night. - Instead of paneer you can try other veggies like potatoes, capsicum, cauliflower.

The flavors in this dish will take you by surprise. The browned onions that form the base of the gravy add a wonderful richness and depth. Cashew paste and curd mellow out the sharp flavors of the spices with the curd adding a tangy note at the end. Most recipes that use paneer call for it to be added at the very end. In this one though, paneer cubes blend into the whole dish instead of standing out like an after-thought. Cooking it in 'dum' forces all the flavors in the gravy to be absorbed by the paneer making them wonderfully moist and flavorful. If you are feeling awfully indulgent you can add cream and khoya to the gravy, both used in the original, but to me it was rich enough without them.

Feeling really adventurous I looked for a recipe for Rumali roti to pair with dum paneer. If I had to pick just one, then rumali roti will surely top the list of Indian breads for me. Being thin as a rumal/handkerchief it is the perfect vehicle for a rich gravy as it does not over power the flavors in anyway. It's rarely found in restaurants even in Hyderabad these days. I had requested our wedding caterer to make this for the reception dinner but he refused saying it would be tough to make them fresh for the crowd. No regrets though since I hardly got to enjoy a meal that day. It would have been distracting to think about the rumali rotis while sitting through the wedding ceremonies :D

Rumali/Roomali Roti
Serving: 12-14 rotis
Prep time: 10mins
Cooking time: 30mins
Ingredients
  • 1 cup All purpose flour/Maida
  • 1 cup Whole Wheat flour/Atta
  • salt to taste
  • 1 Tbsp oil
  • Milk and Water to make dough (~ 1.5 cups total).
  • Rice flour for dusting ~ 1/2 cup
Method:  Make a moist dough and knead it for 3-4 mins until soft and pliable. Cover the dough ball with a moist cloth and allow to rest for 1-2hrs. Roll two small dough balls the sixe of a key lime and stretch them to the size of a small poori. Spread oil on one side of each round and dredge/dust evenly with rice flour. Place one round over the other with floured sides facing each other and press around the edges to form a rough seal. Using a rolling pin stretch the dough to make a very thin roti, as thin as you can get without tears. Heat a wide, shallow pan on high heat and cook the roti for 20-30secs on each side until you see little brown spots on the surface. Any longer and you'll have papads! Transfer to a covered, serving dish and about a minute later when cool enough to handle, separate the two layers to get individual rumals!

Source: barely modified from here

The roti's are soft and melt in your mouth. You are gauranteed to lose count of how many you devour so make extras! I made this combination twice this month already and cannot wait to repeat it again. I served it alongside a salad of ripe tomatoes and onions sprinkled with salt, pepper and chaat masala because chaat masala makes everything better :)

Tuesday, June 09, 2009

Matar Paneer

Dear foodies,

I did it again! I killed the second basil plant I brought home :( I had really high hopes for the second one, and it looked like it was thriving too. But I was away for the 4-day long weekend and when I got back, no amount of coaxing it back to life helped. I have now officially given up on my patio garden for this year. I am going to stick to the more robust herbs and see how far they go. The mint, thyme and rosemary don't seem to miss me at all, they went about doing their business - sprouting new leaves and growing longer and bushier. Good for them! So the basil pesto and pizza ideas are now on an indefinite hold. Just like my cable subscription. The apartment community that I live in changed their rules, no more permanent mounting of dishes on the deck. They gave us a 3 week time period to find an alternative. I had 3 different technicians come to take a look at it and none had a solution. The dish is now lying on the deck facing nowhere in particular and the TV is reduced to a black box. I am used to having the TV playing in the background from the moment I step into the house in the evening. I need the noise pollution to keep me sane, the silence freaks me out completely :( Do any of you share the feeling ?

Okay, getting back to cooking. I've been buying fresh English peas and fava beans and ramps and garlic greens and asparagus whenever I can spot them in the grocery store aisle. Thanks to the blog hopping I do, I now look for these so-far unfamiliar goods, nestled between the usual suspects in the store. The berries haven't yet arrived in full splendor, but that does not stop me from buying the strawberries. I can slowly, yet steadily taste the sweetness and the burst of flavor increasing in each batch that I buy. When at home in India, my father would buy a lot of peas in the pod from the market when in season. Once we, er he shelled them, my mom would take over and add them to every dish she possibly could - vegetable curries, sambar, mixed rice, upma etc etc I liked them, but not enough to enjoy it in everything! But just like everything else, I've come like them too and now look forward to the fresh peas in the store. The fresh ones have a bite to them and hold up to short cooking times without turning into a mush. Apart from salads, I made this quintessential desi restaurant menu item - Matar Paneer (or mutter paneer).

Matar Paneer - Indian cottage cheese with Peas
Ingredients:
  • 2 cups - vine ripe Tomatoes, diced
  • 3/4 cup - Onions, minced ( I am currently in the 'I-love-vidalia-onions' phase :D)
  • 3/4 cup - Green peas, shelled
  • 3/4 cup - Paneer cubes, thinly sliced
  • 1 Tbsp - Oil
  • 1 tsp - Cumin seeds/Jeera
  • 2 nos - small Bay leaves ~ an inch long
  • 3 nos - Cloves/laung
  • 1/2 tsp - Ginger, minced
  • 1/2 tsp - Garlic, minced
  • 1/2 tsp - Green chilli, minced
  • 1/4 tsp - Turmeric powder
  • 1 tsp - Tomato paste
  • 1 tsp - Garam masala powder
  • 1 tsp - Red chilli powder (optional)
  • 2 tsp - Kasuri methi, crushed
  • 5-6 nos - whole cashews, soaked in warm water OR 1 Tbsp - sour cream
  • Salt to taste
  • For garnishing - Coriander leaves, sliced onions and lemon wedges
prepping the paneer : If using fresh paneer, dice it into cubes, and broil to get a golden crust OR cut long slabs and pan fry it in a non-stick pan. Drain and cut into cubes. OR if using frozen cubes, soak them in warm water for 5-10 mins and broil for 2-3mins if you desire.

Method:
  1. In a deep pan, heat the oil on medium heat. Add the cumin seeds, cloves and bay leaves. Once fragrant and toasted, add the minced onions and ginger, garlic and chillies. Sprinkle some salt and cook till the onions are softened and translucent.
  2. Add turmeric, tomato paste and cook for a minute. (The tomato paste adds a nice color and tartness) The minced tomatoes go in next along with the garam masala powder. Cook this on medium heat until the tomatoes fall apart and the oil starts to separate from the edges. Stir every few minutes so the gravy does not burn.
  3. At this point, you can fish out the bay leaves, transfer the whole gravy to a blender with the soaked cashews and blend to a smooth paste. ( let it cool before blending or leave room for the hot steam to vent while grinding) Transfer it back to the pan, add the bay leaves and bring it back to medium heat with the crushed kasuri methi and peas added. Check for salt.
  4. If you are not in a mood to use the blender, start with finely minced onions & tomatoes and use a masher at this stage to turn it to pulp. Stir in a spoon of sour cream, proceed with the kasuri methi and peas, and simmer for a few minutes on low heat.
  5. Add the paneer cubes, heat it through, and add a little water if needed. Take off the heat, garnish with coriander leaves and lemon wedges on the side. Serve with pulao/jeera rice or Indian breads like naan and rotis.
*Boiled (in salted water) and cubed potatoes could be used instead of paneer to make this Aloo matar. Add it to the cooked gravy in step 4 before adding the peas, simmer for 6-7mins allowing the potatoes to soak up the flavors.
I made a quick, microwave jeera rice to go along with the curry. The bowl that you see is the one I cooked the rice in, just a cup of it. I melted a thin slice of butter in the microwave, 30secs. Add a tsp of cumin seeds and heated it for another 30secs until it sizzles. I then added the washed rice and required amount of water and microwaved it for 8 mins, and then two more minutes with the bowl covered. Let it cool, fluff it up with a spoon and jeera rice is done :)

The gravy tasted fabulous, if I say so myself. I made it twice in the last 3 weeks, the first time was the lazy me, not touching the blender and using low-fat sour cream for the creaminess. The fresh home grown tomatoes I found at the store were bursting with juices and added a nice tang. The peas held their shape and tasted really good in the gravy. I could not take the photos as soon as the curry was done, and so the peas seem to have lost the bright green they had. I consciously stayed away from using heavy spices in this curry because I wanted to taste the peas and keep it simple/mild. The kasuri methi in the end enhances the flavor of the gravy and gives it a very nice flavor. The second time I made it was this weekend, when I had friends visiting. This time I brought out the blender and used cashews to add richness to the gravy. It tasted great both ways and I don't think I can pick one over the other, it comes down to your convenience.

Saturday, November 11, 2006

Rasgulla & Rasmalai !!

Paneer/Cheese balls cooked in sugar syrup
~~~~~~~~~~~~~~~~~~~~~~~~~~~~~~~~~~~~~~~~~
Dear Foodies,

Rasgulla's

I was sooo excited after digging my teeth into one of these lovely, juicy lil fellas that I had to put it up on the blog immediately. Will get back with photos detailing the recipe later this weekend.

But if you cant hold on until then, then jump over to Priya's blog for her recipe.
-------------------------------------
Rasgulla
-------------------------------------
After seeing Priya's post on rasgulla's I was really tempted to try it out. So this weekend a friend and I tried making this absolutely delicious sweet and I have to say it is a cakewalk making them. Thank you soo much for the recipe Priya.

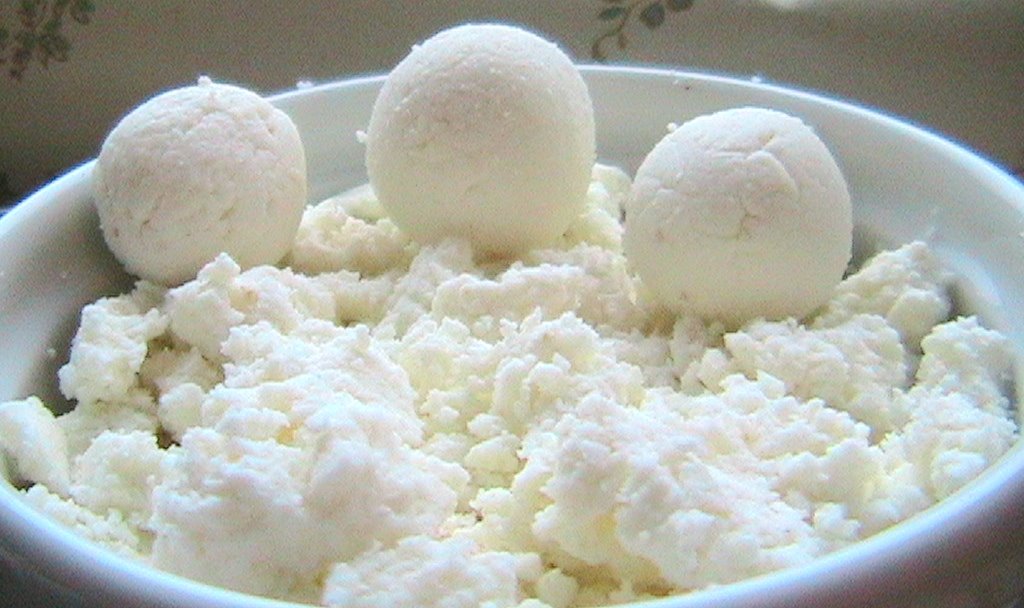
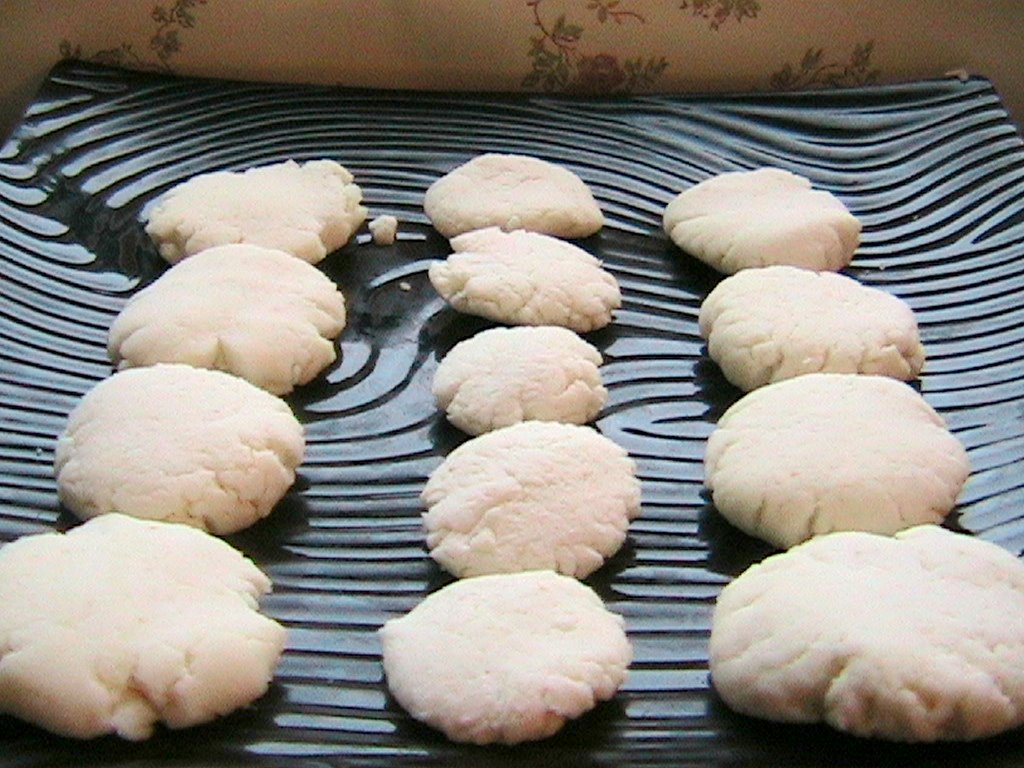
I am not going to detail the recipe as it is very similar to how Priya made it. I just made a few changes that. I used a gallon of whole milk (Vitamin D milk). I learnt that the best way to split the milk is to add the lemon juice right when the milk is boiling and begins to rise ( a timely tip from a friend). After filtering out the water and looking at the amount of paneer left my friend and I sadly estimated the no. of rasgullas to be 20 lil ones. I did not have a cheese cloth and used one of the many free t-shirts we get around the campus, it took the paneer just about an hour to dry out completely. I totally forgot about using the blender which Priya mentioned and kneaded it by hand as given in one of the links she provided. We kneaded it for about 15 mins and I would have added about 4 teaspoons of all purpose flour. We then started to make tiny balls out of it and thats when we realised it was becoming a never ending process...the estimate of 20 slowly became 40, then 50 and finally stopped at 60 rasgulla's !! While making the balls don't apply too much pressure, knead it well and lightly press to get the shape you desire. I pressure cooked 20 rasgulla's in one batch. I made the syrup with 1 cup of sugar in 3 cups of water, but I had to add more as the sugar vanished once the rasgulla's were cooked. So taste the syrup to make it a little sweeter than you really want the as the sugar got absorbed into the rasgulla's leaving the syrup bland. I added a few drops of rose essence in one batch and 4-5 elaichis in the other, both of them were excellent. The rasgulla's were extremely fluffy and soft, when flattened with a spoon they immediately bounced back to shape taking in more syrup. yummmmm :-)

I pressure cooked the rasgulla's for a little more than one whistle in a Hawkins pressure cooker got from India. I turned off the heat 2 mins after the first whistle, basically I saw to it that I dont hear the second one.
-------------------------------------
Rasmalai
-------------------------------------

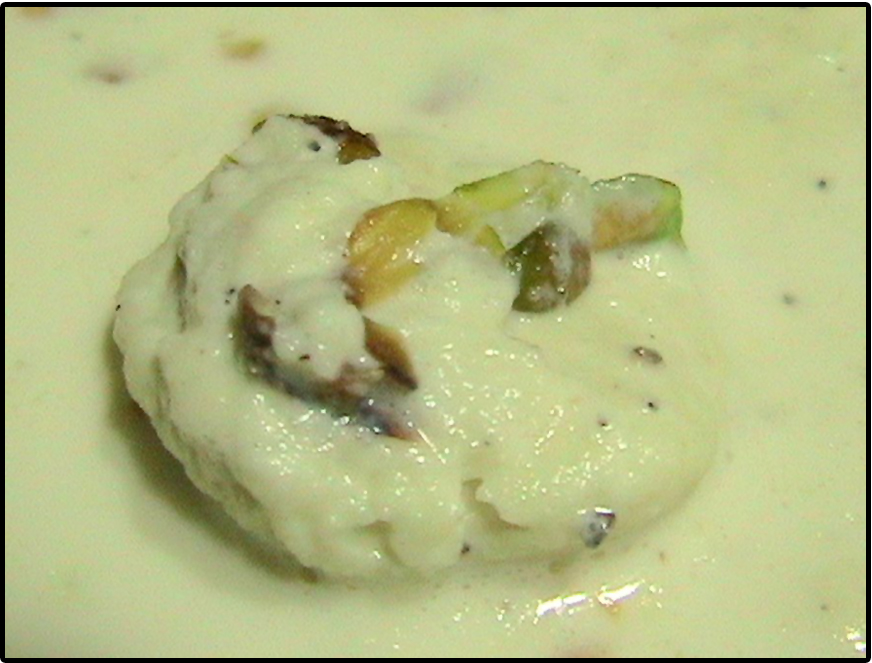
I had a little more paneer left after two batches of rasgulla's and so made rasmalai with the rest. I reduced 2 cups of milk to half the quantity, in the microwave, added 2 tablespoons of condensed milk and 1/2 cup sugar, then dunked the flattened balls into it and microwaved it covered for 15 mins. I was a little lazy to use the cooker again and so microwaved the rasmalai. You can follow the same timings as for the rasgulla to make these. After you have reduced the milk, drop-in the paneer balls with room for them to grow and pressure cook for a little more than one whistle.
I added 4-5 powdered elaichis and sliced pistachios to the milk for additional flavor. Even this one was a winner, tasting super yummy.

~~~~~~~~~~~~~~~~~~~~~~
Thank You Time !!
~~~~~~~~~~~~~~~~~~~~~~
(Paneer balls ready to get transformed into fluffy Rasgullas)
This post is going to be my platform to finally say my Thank you's to all those who made me the foodie I have become !! The first Thank You is surely to my Mom and Dad. If not for their enthusiasm for good food I wouldn't have been such a foodie. My mother, I think is THE best cook. My lunch box at school always found friends other than me to empty it. She constantly experimented with different cuisines and churns out wonderful dishes. Any dish I make is perfect only if it tastes just like how my mom makes it and that I have learnt is extremely difficult :-P !! Even now when I am so far away from her kitchen I still continue to pester her to make my favorite dishes so that I can post them up on the blog here, and she has been doing it soo wonderfully with my Dad capturing them through photos. (Well the secret is, I want the recipes..and blogging is an excuse to get the secret ingredients from her ;-) shhhh) My Dad is a great foodie too, we used to compete in setting the salad plate for dinner and it used to be soo much fun. He would also neatly chop the fruits of that season and leave them in the fridge for all of us to gobble them up with out any trouble :-) Well....I could go on and on about the two of them. So I will end now with a huge Thank you and loads of hugs to you :-) Love you ! Today (14th, Nov) is my Dad's b'day, Happy Birthday Nana :-)

My roomies and friends and my brother who got trapped once, are the poor souls on whom I have been testing my experimentations all throughout. If not for their words of encouragement even for the worst turnouts in the kitchen...I wouldn't have dared to start this blog !! They are always pouring out praises that boost my confidence and I end up torturing them even more with my new experiments ...hehehe I know you guys repent it now...but its tooo late, the damage has been done. :D Thank you guys :-) ( Applause )

There are also the wonderful bloggers who share their tried and treasured recipes, so that newbies like me can flaunt the recipes at parties and with friends and take all the praise too. Thats a perfect example for 'having the cake and eating it too'...it couldn't have been any easier. Each one of the bloggers has re-defined cooking as not just a chore, but as a way of showing your love and affection towards your family and friends. Cooking should be done with a consciousness to make delicious and healthy food is what many of them have showed through their blogs. I also started the Treasure Trove section to thank all the bloggers for sharing their recipes and now I am going to say it here too. Thank You !

I was tempted to put a stat counter after reading Indira's post about her reaching a blog milestone ( Congrats to her again) a few days back and I was shocked on seeing the results !! I thought there were just a bunch of fellow bloggers who came to my blog and I always took the no. of comments to be the sole yardstick for readership !! I realized that apart from bloggers there are soo many others who come here, some who either leave their footprints through comments and many who are silent visitors. Thank you all soo much for dropping by, it really means a lot to have you guys visit me :-)

And most importantly, I'd like to thank Meeta, the person who gave us a chance to Give Thanks. Her blog is a delight not just for foodies but also to those who enjoy beauty. Each one of her photos is a masterpiece in itself and she has constantly been raising the bar for good pics !!

Friday, July 14, 2006

Potatoes in Gravy/Aloo gravy

Dear Foodies,


This was a dish that came out of boredom eating the usual potato fry. I wanted to make some kind of gravy and dint want to follow my usual style of boiling onions and tomatoes in water, cool and blend them to give the base for the dish. What I tried this time was to blend them raw and then cook. The difference in the texture and taste was significant and I liked it a lot better than my usual gravy.
I made Jeera rice along with this, it is one of my favourites and is also very easy and quick to make. I have also added the recipe for the Jeera Rice at the end of this post.

Back to the Potatoes, here's my recipe:

Ingredients:
  • 6 nos - Potatoes
  • 4 Tbsp - Oil
Spices:
  • 3 nos - Cloves
  • 2 nos - 1 inch Cinnamon sticks
  • 1 nos - Cardamom/elaichi
  • 1 tsp - Fennel seeds/Saunf
  • 1 tsp - Turmeric powder
  • 2 tsp - Red chilli powder
  • 2 tsp - Garam masala powder

Soak for 10 mins in luke warm water:
  • 1 Tbsp - Poppy seeds/Khus khus
  • 2 Tbsp - Broken Cashews

Blend the soaked ingredients along with:
  • 2 nos - Onions, roughly chopped
  • 4 nos - Tomatoes ( I used one can of chopped tomatoes)
  • 3 nos - Garlic pods
  • 2 nos - Green chillies

Procedure:
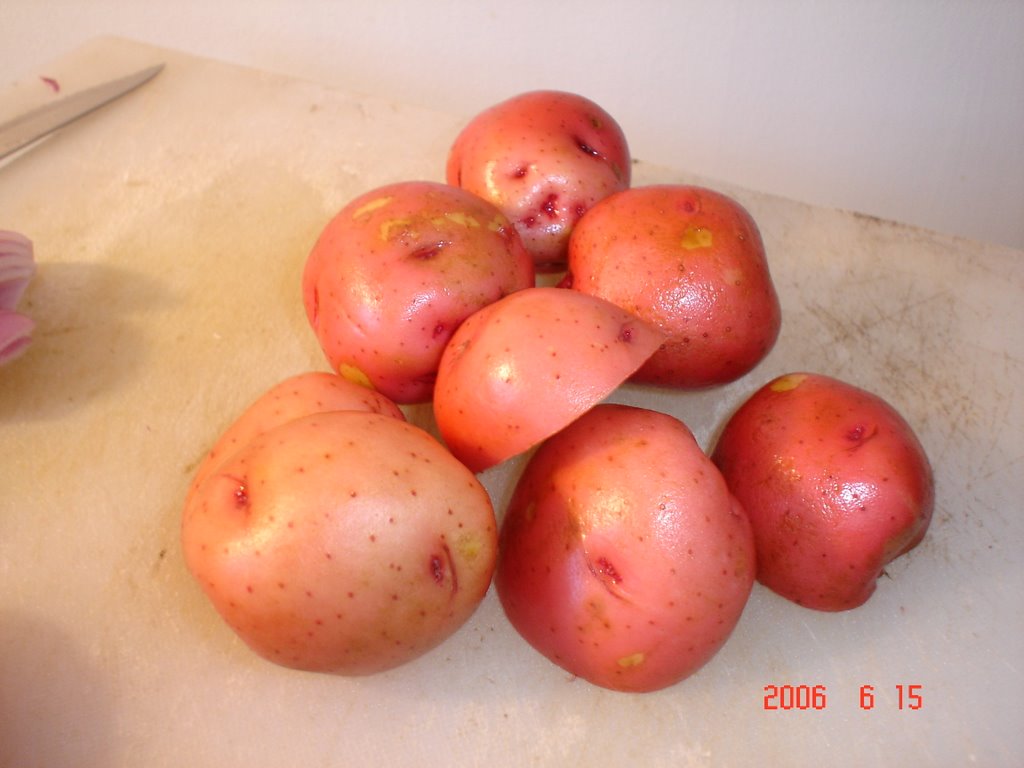
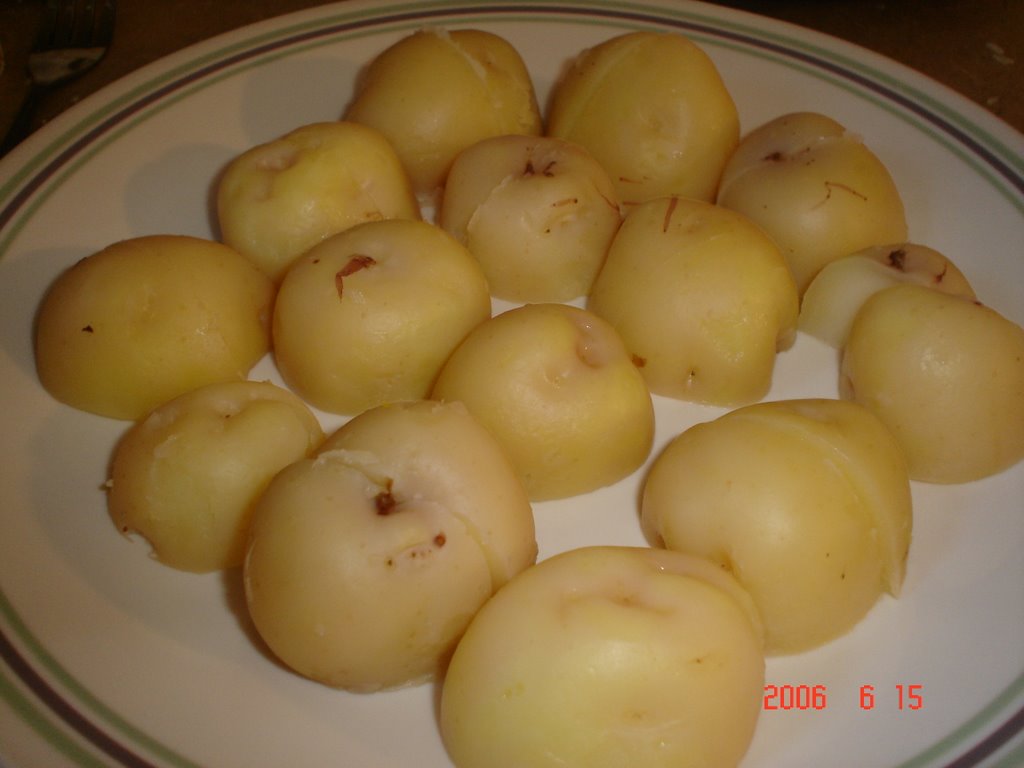
  1. Boil the potatoes in some salt waterand peel. Before boiling them, you can randomly prick the potatoes with a fork which will help in cooking them uniformly. If using baby potatoes you can use them whole else cut them into quarters after boiling them.
  2. Heat 2 Tbsp of oil in a wide pan and slightly roast the boiled potatoes such that a thin outer crust is formed.
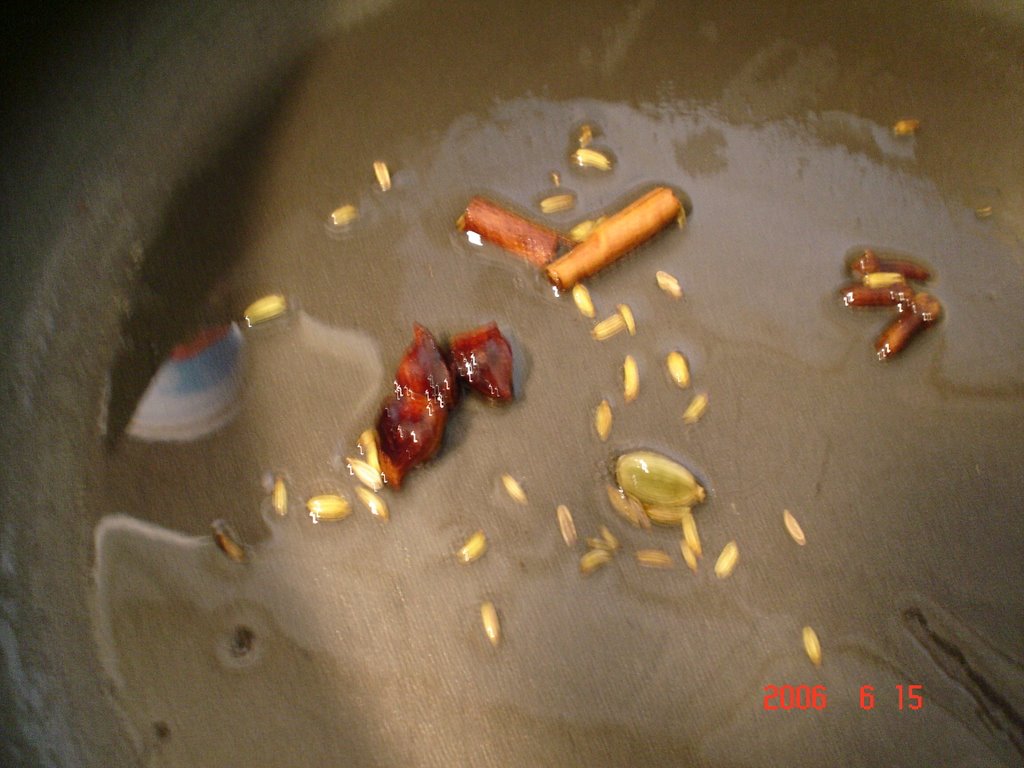
  3. Heat the rest of the oil in another pan and add the whole spices.
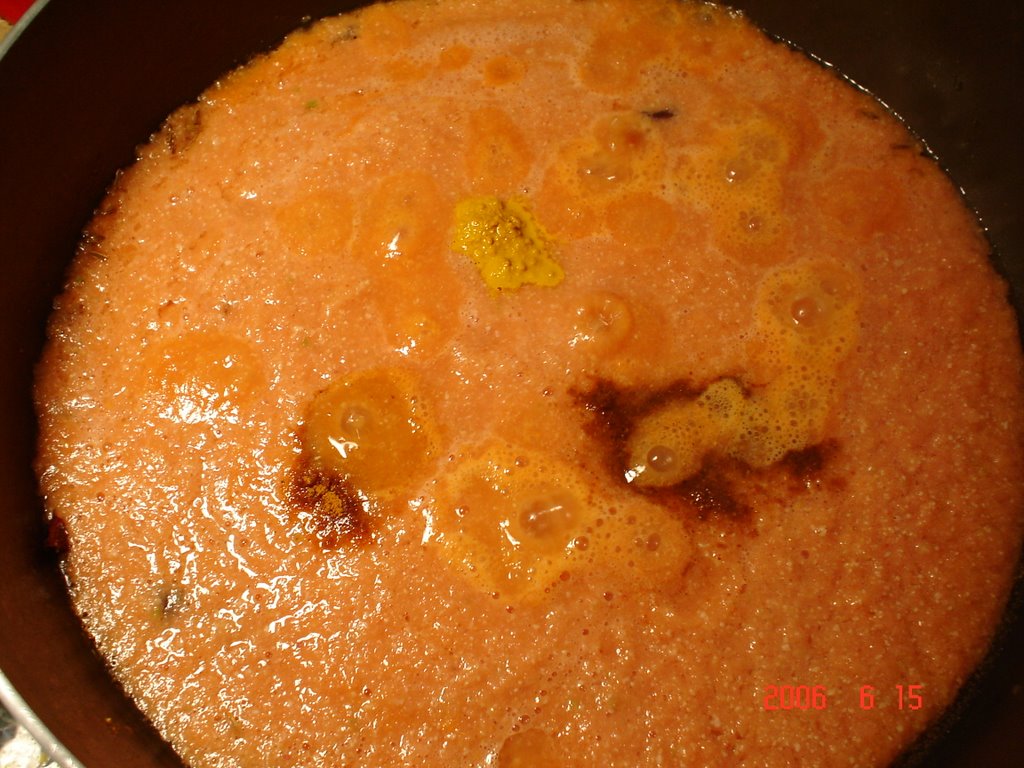
  4. Once they slightly change color add the blended paste and simmer till the oil separates. Add some water to the mixture if its too thick or it will bubble out and spoil your kitchen.
  5. Add the powders and the potatoes next and let the gravy simmer for around 7-8 mins by which time the potatoes will take in the spices.
  6. Before turning off the heat you can also add some cream to lend a rich taste to the gravy. The cashews and poppy seeds used give a nice creamy texture and also tone down the spices a bit.
  7. Serve hot with Indian breads like naan/paratha/rotis or mild rice variations like pulao/jeera rice.

Note:
  • You can skip the roasting of the potatoes. I was in a mood of some crunch in the recipe and so roasted them a bit.
  • I guess you could add other vegetables like diced carrots, peas, cauliflower to this gravy.

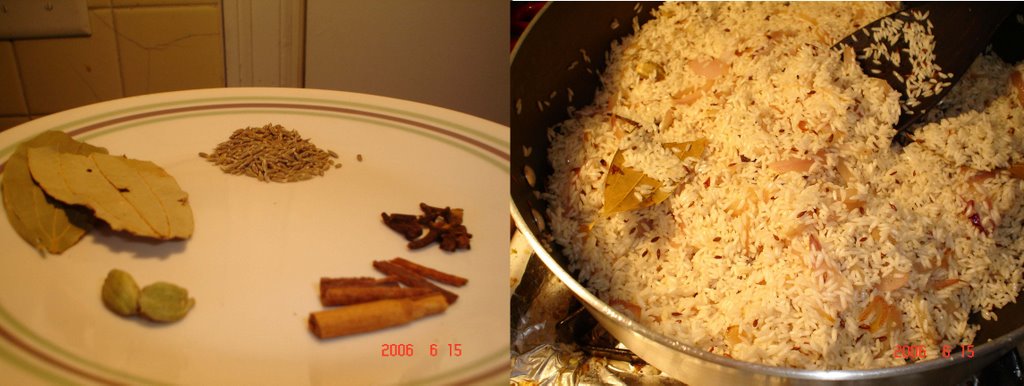
Jeera Rice :

Ingredients:
  • 2 Tbsp - Cumin seeds/Jeera
  • 2 nos - Elaichi/Cardamom
  • 4 nos - 1 inch sticks of Cinnamon
  • 2 nos - Bay leaves/Biryani leaves
  • 1 nos - Onions, finely chopped
  • 2 nos - Garlic pods,sliced (optional)
  • 3 cups - Rice, pre-soaked in water for 30 mins
Procedure :
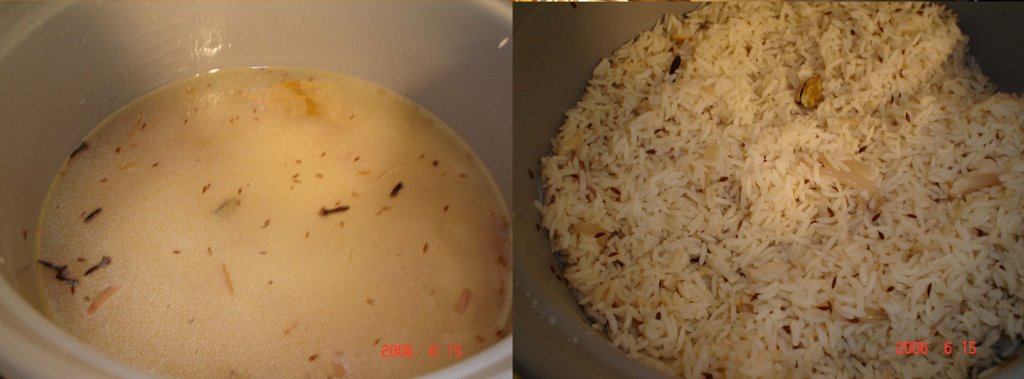
Heat some oil in a wide saucepan and saute the whole spices, once the raw smell vanishes add the garlic pods and onions and saute till the onions are transparent. Now add the rice and mix till the spices blend well and saute for about 1-2 mins. Transfer it all to a rice cooker, add water, salt and cook.

Wednesday, June 21, 2006

Vegetable Pulao

Vegetable Pulao is one of the 'Savior' dishes in many kitchens. If your tired/ in a hurry/ falling short of ingredients for other dishes, you can always make this one. It gives way to a lot of room for innovation. You can use either one or any number of vegetables, make it spicy or mild easily moulding it to suit your mood for the day. :-)

My mom made this on Sundays combining it with Bagara Baingan (brinjals in gravy) sometimes. I dont eat brinjals and so she used to add tomatoes to it just so I would eat ;-) We call it fried rice at our home. I am not sure what it should be called, but one thing I know is that it tastes great :-)

Well, last weekend a group of friends and me decided to go on a trip to Niagara Falls. (Pictures will follow soon). We had planned to start at around 1:00 in the afternoon and we had to finish our lunch before we hit the road. Pulao came to our rescue as it is a wonderful stand-alone dish . It took me just 20 mins to get it ready for the cooker. I wasn't in the mood of adding potatoes, but they gel well with this dish. (My dad is always teasing me that after coming to the US potatoes have become our staple food..!!!)

Vegetables:
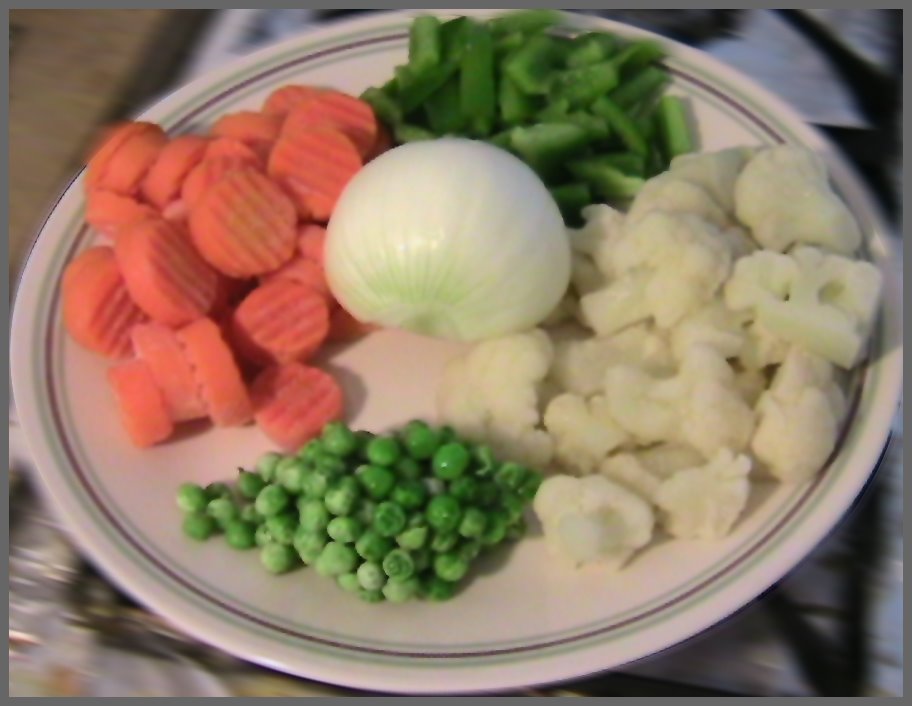
  • 1 cup - Carrots
  • 1 cup - Cauliflower florets
  • 1 cup - Green peas
  • 1 cup - Green bell peppers
  • 1 nos - Onion
Spices:
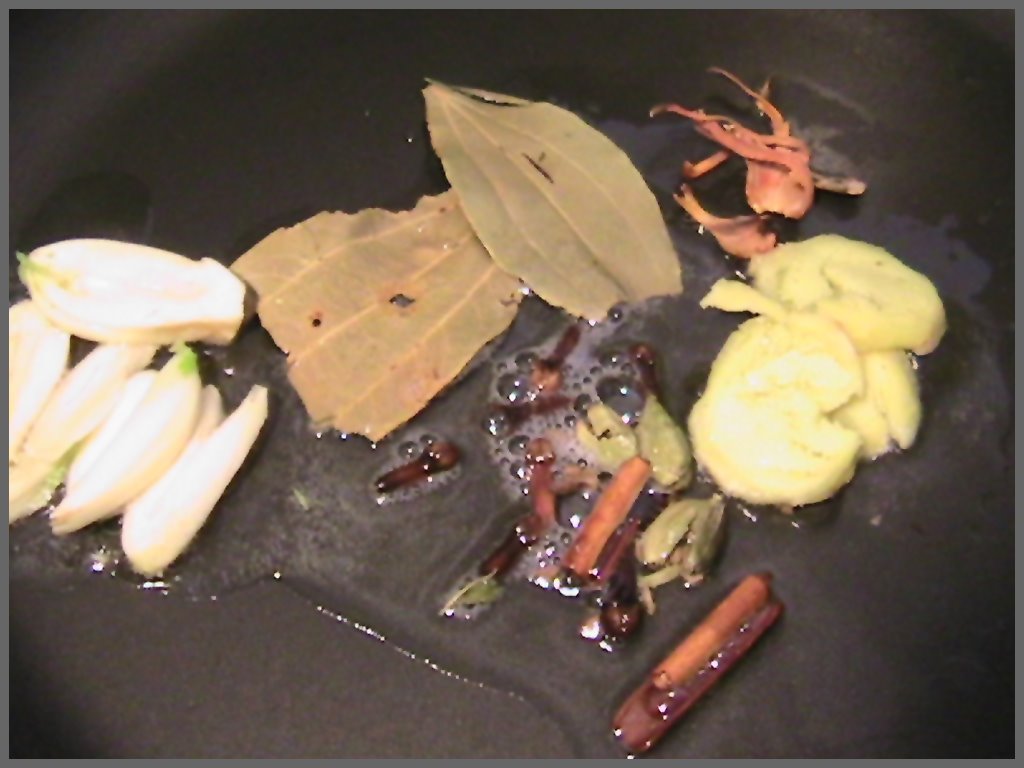
  • 2 nos - Bay leaves ( biryani leaves)
  • 7-8 nos - Cloves
  • 2 nos - Cinnamon sticks (1 inch each)
  • 3 nos - Cardamom ( Elaichi)
  • 3 nos - Garlic pods
  • 1 Tbsp - Mint leaves ( dried)
  • 3 nos - Mace
  • 1 inch Ginger piece sliced
Other Ingredients:
  • 5 cups - Rice
  • 3 Tbsp - Oil
  • Salt to taste
Procedure:
  1. Wash and soak the rice before you start with the vegetables, this makes the rice nice n fluffy and the rice gets cooked faster.
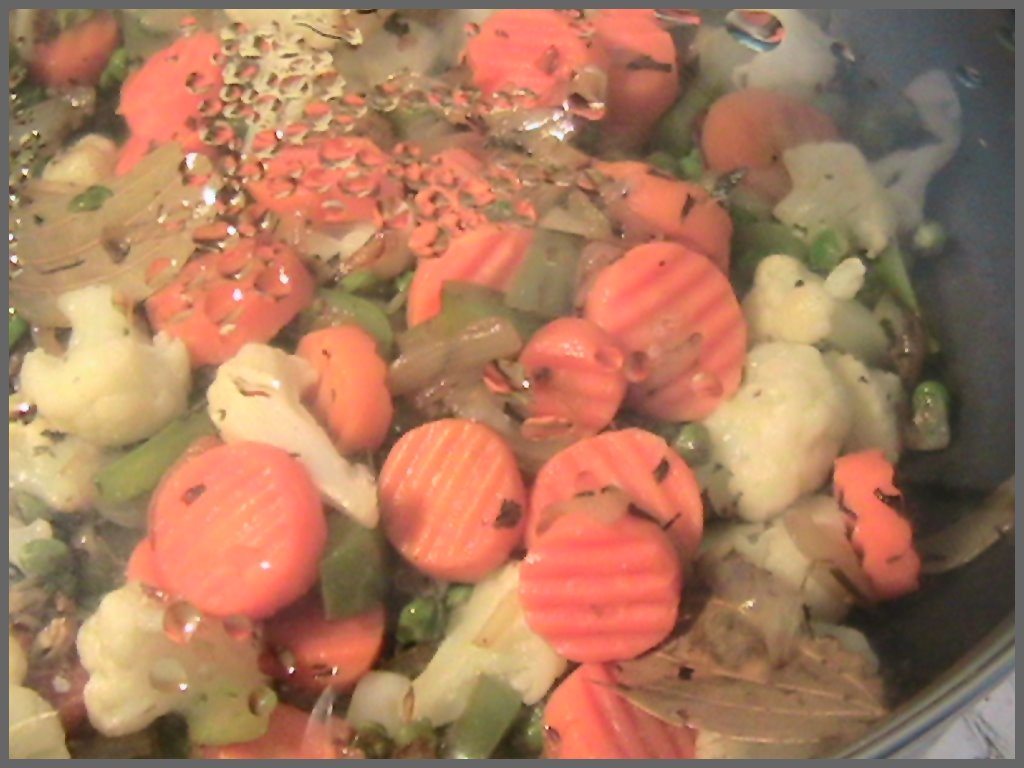
  2. Chop onions and the other vegetables. I used frozen carrots, cauliflower, peas and fresh capsicum. Thaw the forzen vegetables and reserve.
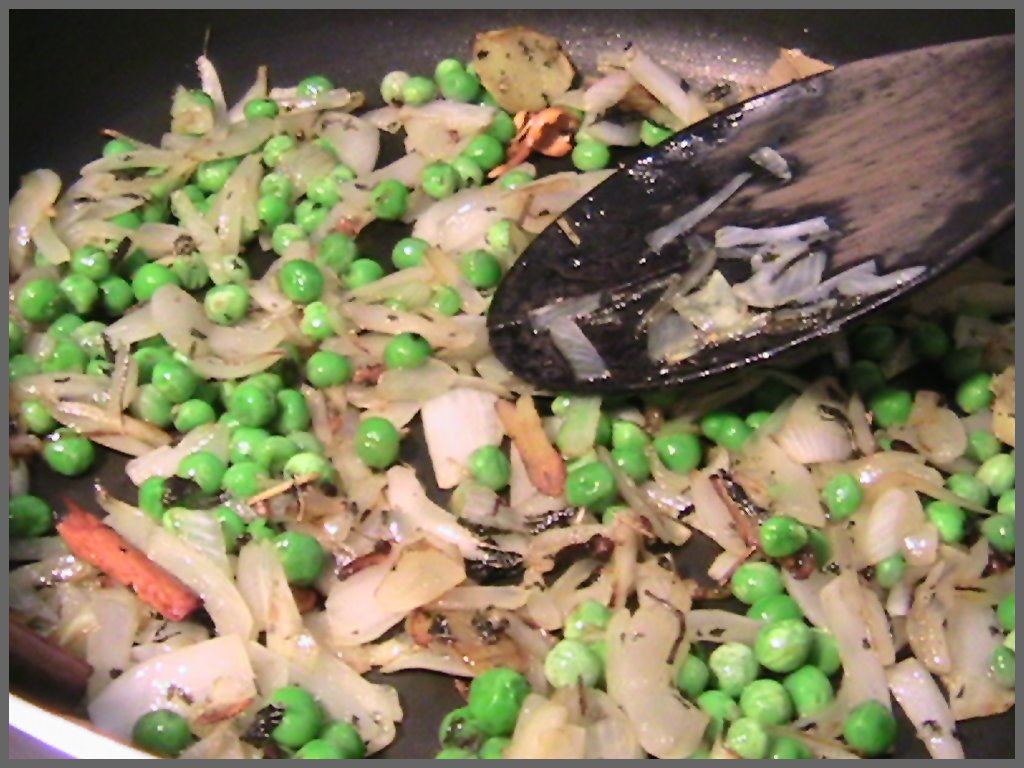
  3. Heat some oil in a wide saucepan and add the all the spices. Ones the raw smell vanishes, add the onions and saute.
  4. When the onions are done add the peas and capsicum and continue to saute till they are cooked. I add the peas in this step, as I like them to turn a little crisp on the outer skin.
  5. Now add the rest of the vegetables and salt. Cover the sauepan and let them cook for about 5-7 mins.
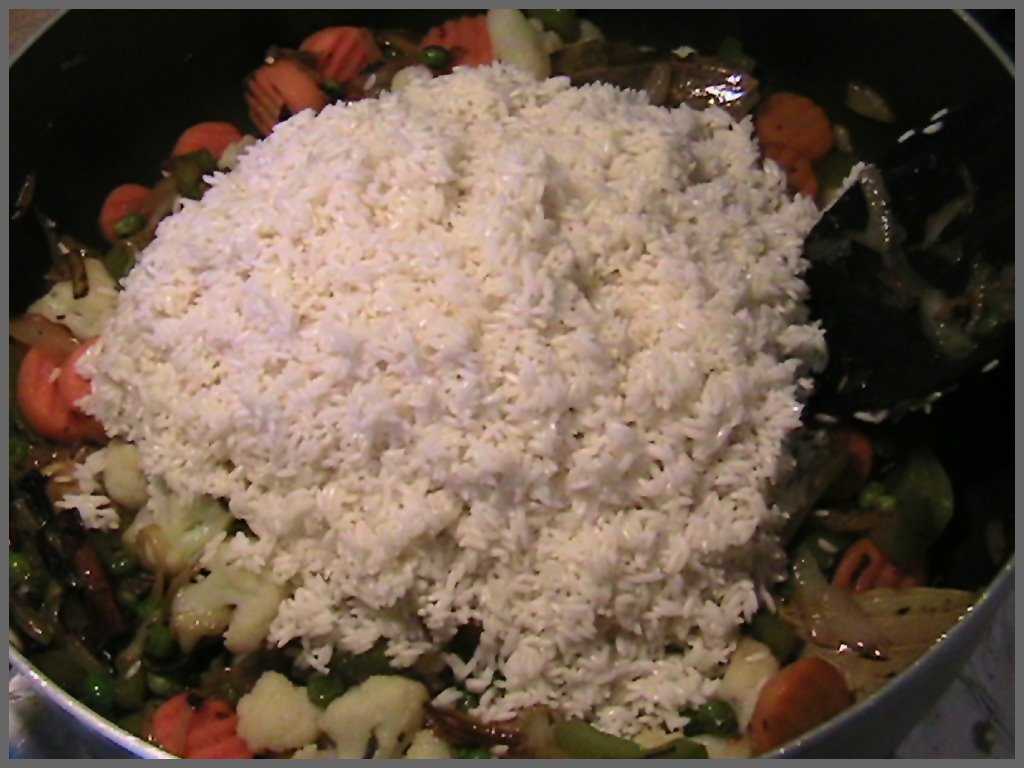
  6. Drain and add the soaked rice and mix till the rice and vegetables blend well.
  7. Transfer the whole to a electric cooker and add water for the rice and veggies. If you added salt in Step 5 then taste and add salt accordingly. The pulao tastes best when the rice grains are fluffy and separate.
  8. Garnish with Cilantro leaves and serve hot with raita or any north Indian gravy.

Note:

  • Any combination of vegetables and spices can be tried. Adding cashews and raisins will make the pulao rich and definitely tasty ;-).
  • If using a pressure cooker, the whole procedure can be done in the cooker pan and water can be added once the rice and vegetables mix well.
  • Instead of oil, you can use equal measures of ghee and oil. This gives a mild, comforting taste. Ghee can be added to the cooker aong with the water.
This is my entry for Paz's 'From My Rasoi #6 - For the Love of Rice' event.
Blogging tips